New year, new (sysadmin) me, or something like that. Step one was to fix a failing backup jobs on my Synology NAS. As usual, things escalated.
2021 Update: This is definitely not the way to do it! I've kept the article for continuity, plus it's a slightly comical approach, but if you really want a Let's Encrypt certificate on your NAS head here for working instructions.
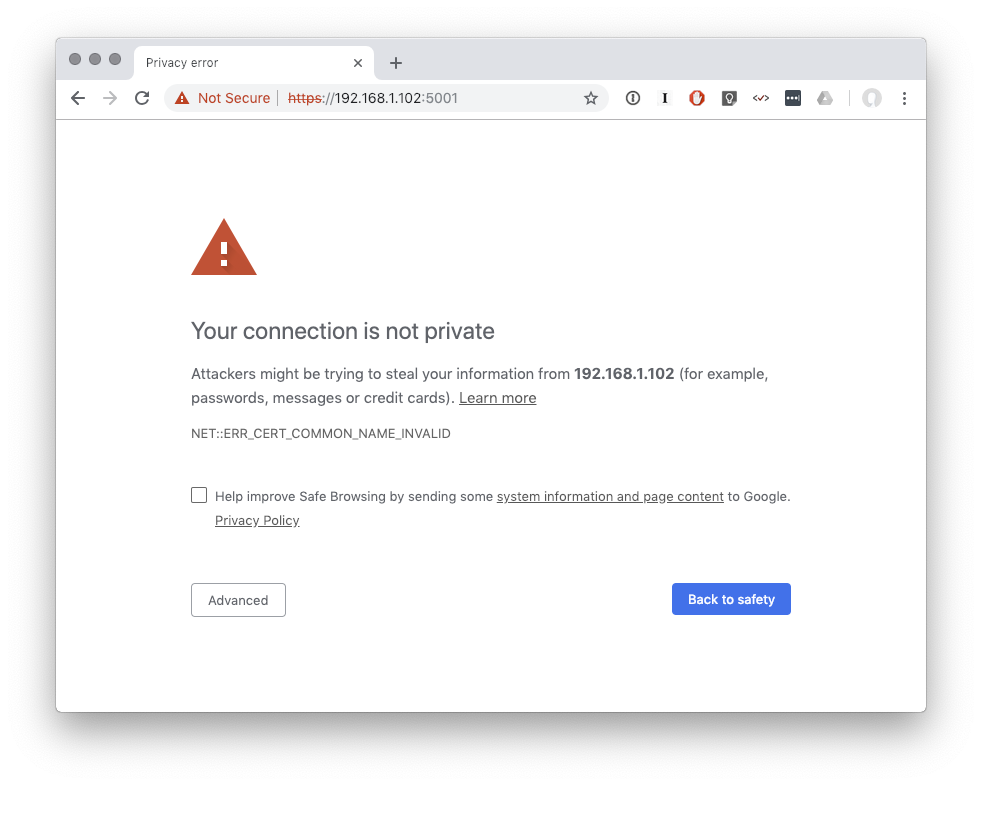
This blog post has nothing really to do with that backup job, which turned out to be an easy fix (make more space for bigger files). You see, fixing that gave me new confidence to tackle other sysadmin issues. Whilst I was already working on the NAS I figured it was time to put an actual trusted SSL certificate in place so accessing the admin UI no longer forces me to accept this warning every time…
Instead of another two-minute fix what followed was closer to two hours of Synology NAS exploration I didn’t anticipate ever doing. The tl;dr is another problem solved with dubious shell scripts and chattr +i. For those with a Synology NAS hopefully this blog post provides some useful information, or at least some entertainment!
Part 1: Synology’s DSM and Let’s Encrypt
Let’s Encrypt is my go-to place for certs these days. It’s easy to use, free (!) and trusted in lots of places. Now Synology have already integrated Let’s Encrypt into their DSM admin interface. I had a poke around but my attempt to get a certificate failed. It turns out you have to set up your router to forward HTTP/port 80 requests hitting your public IP through to the NAS. I’m not very keen to do this. I’m even less keen to leave such a setup in place so that future renewals work. I need another option.
Is there another way?
Let’s Encrypt also support validation via a DNS challenge. If I want a cert for important.foobar.com and I tell Let’s Encrypt I’ll be using DNS to prove I have control then instead of them looking for known content via a HTTP request they will look for known content via a DNS request. This takes the form of a TXT record with a time-limited string located at _acme-challenge.important.foobar.com.
This method allows us to generate a cert without all that HTTP validation faff and also works for DNS records that are pointing at private/unroutable IPs. This fits my use case where I have mynas.foobar.com point at the private IP for the NAS. Automating it is still an issue though as to do this I’ll have to run certbot outside of the ready-to-use DSM stuff.
Whilst considering this I recalled that Cloudflare has an API, and I’m using them as the DNS provider for most of my domains at the moment. I could probably just knock up something to write the TXT record and remove it afterwards. certbot has pre/post cert generation hooks for this purpose. Well, unsurprisingly, someone has already done this and produced a certbot plugin, certbot-dns-cloudflare.
Just need to install this plugin…
How do you install a certbot plugin on the Synology NAS? The NAS is running Synology’s own Linux distro. I’ve ssh’d numerous times to it just to move files around. I also ran an rsnapshot variation on this box years ago, but nothing much more than that. A quick Google pointed me at opkg as an available package manager. Getting this setup on the NAS is possible via the DSM web interface. Going through the setup reminded me I actually had an old ipkg environment, but that’s probably a bit too much detail to be useful here and this story is long enough as it is.
Now with opkg installed I was able to ssh to the NAS and install the certbot-dns-cloudflare plugin requirements and the plugin itself:
# We don't have Python's pip and other required bits to start with...
opkg install python-dev python-pip python-cryptography

# Now the actual Cloudflare plugin...
pip install certbot-dns-cloudflare
Configuring Cloudflare Access
Back in a web browser I headed over to Cloudflare. The first task here is to set up a DNS record pointing at the private IP of the NAS. The second is to grab the API key. For those following along this can be found on your profile page (top right menu), then your global API key is at the bottom of the page. This needs to be stored on the NAS in an ini configuration file, e.g.:
$ cat /root/.secrets/cloudflare.ini
dns_cloudflare_email = "[email protected]"
dns_cloudflare_api_key = "123456789supersecret"
As an aside, be careful with this API key! My understanding is it has full access to your Cloudflare account and there isn’t a way to limit that. At least not that I could see on the free plans.
With an API configuration file I was able to try generate a certificate:
certbot certonly --dns-cloudflare \
   --dns-cloudflare-credentials /root/.secrets/cloudflare.ini \
   -d local-nas.mydomain.com --preferred-challenges dns-01
Success! It worked!
Part 2: How do we get the NAS to use this?
The steps above took longer than expected. I’d never come across some of those parts before, (e.g. Synology’s SSL setup options, opkg and the certbot Cloudflare plugin) and it always takes a bit of time to research and install the required stuff even if all the tools are already out there just waiting to be used.
With a certificate ready to go I was now hoping for a 2 minute task to get the NAS using it, alas this also turned out to be more involved. For starters, the DSM admin interface lets you import a certificate but only via a file upload, which is no good from the perspective of future automatic renewals.
opkg install lsof means we can run lsof -i :5001. Port 5001 is the default HTTPS port for the DSM admin interface, allowing us to see what software is powering the web interface:
root@nas:~# lsof -i :5001
COMMAND   PID USER   FD   TYPE DEVICE SIZE/OFF NODE NAME
nginx    6381 root    8u  IPv4  11428      0t0  TCP *:DSM-https (LISTEN)
nginx    6381 root    9u  IPv6  11429      0t0  TCP *:DSM-https (LISTEN)
nginx   22427 http    8u  IPv4  11428      0t0  TCP *:DSM-https (LISTEN)
nginx   22427 http    9u  IPv6  11429      0t0  TCP *:DSM-https (LISTEN)
nginx   22428 http    8u  IPv4  11428      0t0  TCP *:DSM-https (LISTEN)
nginx   22428 http    9u  IPv6  11429      0t0  TCP *:DSM-https (LISTEN)
It is good news to see nginx running rather than some little-known web server. Changing to /etc/nginx and fgrep -rn 5001 shows that nginx.conf is the core file for all virtual hosts on the box. The SSL certificate reference is near the top. I updated the file so it pointed to the Let’s Encrypt certificate /etc/letsencrypt/live/... and restarted nginx, which for the curious is synoservicectl --restart nginx on Synology’s OS. With that done I loaded up my browser and… the old cert was still being served! ssh’ing back to the server it turns out that on a service restart the config file is restored to its original state! Didn’t see that coming!
Trying to play along with this way of doing things, I copied my new certificate and private key over the top of the Synology ones so the config file could stay the same. I figured I could automate the copy as a certbot hook after renewal. I restarted nginx again and… still the old cert. This time the certificate files were reset back to their original content!!
Keen to force my approach to work I turned to the big guns, making the certificate files immutable. This can be achieved with chattr. Although not available by default on the NAS it is available via opkg. chattr +i effectively locks the file from editing until chattr -i is run. This time after a nginx restart, success!
My final post-renew script looks a bit like this:
#!/bin/bash
chattr -i /usr/syno/etc/certificate/system/default/fullchain.pem && \
chattr -i /usr/syno/etc/certificate/system/default/privkey.pem && \
cp /etc/letsencrypt/live/syn.falkus.co/fullchain.pem /usr/syno/etc/certificate/system/default/fullchain.pem && \
cp /etc/letsencrypt/live/syn.falkus.co/privkey.pem /usr/syno/etc/certificate/system/default/privkey.pem && \
chattr +i /usr/syno/etc/certificate/system/default/fullchain.pem && \
chattr +i /usr/syno/etc/certificate/system/default/privkey.pem && \
/usr/syno/sbin/synoservicectl --restart nginx
With a certbot renew crontab:
14 5 * * * /usr/local/bin/certbot renew --quiet --post-hook "/usr/sbin/service nginx reload" > /dev/null 2>&1
Eagle-eyed readers will perhaps wonder how the renew works without referencing Cloudflare and the DNS challenge method. Well, Let’s Encrypt is smart enough to use the same validation approach as before. It gets this from a config file written out the first time you make a cert for the relevant domain. These config files can be found in /etc/letsencrypt/renewal/*.conf.
Mission Success
And that’s it! I realise this is somewhat (or a lot?) of a hack, but it’s a pragmatic solution to having a Let’s Encrypt cert that should keep renewing whilst the machine lives on a private network. If Synology come up with a more friendly way to use Let’s Encrypt without forwarding on HTTP requests that’d be ideal, in the mean time though I’ll stick with this.